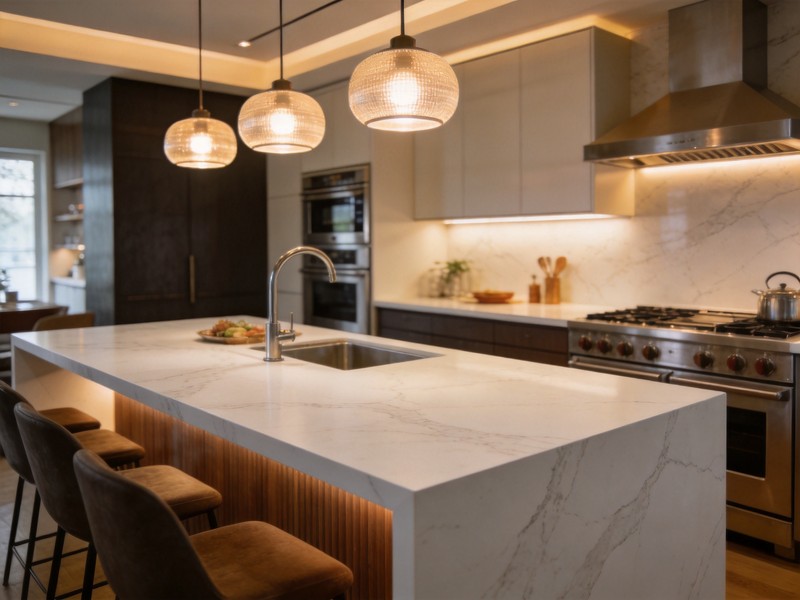
Sintered stone is not porcelain tile and it is not quartz. It is a fully vitrified, high-density body that behaves more like glass in the way it cuts and more like stone in the way it carries load. Fabricators who treat it like quartz break slabs. Here is the correct process.
Tooling
- Bridge saw or CNC with a continuous-rim diamond blade rated for porcelain/glass. Segmented blades chip the edge.
- Water cooling is mandatory — coolant flow at the cut line, not just a mist.
- Feed rate: slow and constant. Rushing is the number one cause of edge chipping and micro-cracks that fail weeks later.
- Support the whole slab on a flat, clean table. Any point load under the cut releases stress and cracks the piece.
Cutting sequence for a countertop
- Mark out with a wax pencil; verify against the template on site, not from drawings.
- Cut the sink and hob openings first — the slab is still full-size and best supported.
- Cut external edges last, working from the factory edge where possible so at least one edge stays true.
- Dress all cut edges with a diamond pad progression (50 → 100 → 200 → 400 grit) before assembly.
Mitred edges
A 45° mitre joined with structural adhesive gives the appearance of a solid 40 mm top while keeping the weight and cost of 12 mm material. Two rules:
- Cut both mitres from the same slab and keep the pattern continuous around the corner — vein matching at a mitre is what separates a good install from an obvious one.
- Use a two-component structural adhesive rated for the material, not silicone. Silicone creeps under load and the joint opens.
Drilling and fixing
Use diamond core bits with water, at low RPM, with a backing board to prevent blowout. Never hammer-drill. For wall cladding, mechanical fixings plus adhesive are recommended above 2.4 m or in seismic zones; adhesive alone is acceptable for interior walls up to 2.7 m with full-bed coverage.
Adhesive and substrate
- Floors: cement-based flexible adhesive (C2TE S1 class) with full coverage; substrate flat to ±2 mm over 2 m.
- Walls: C2TE S1, back-buttering for large formats to eliminate voids.
- Countertops: structural adhesive to substrate, with a continuous substrate — never span a gap.
- Expansion: leave 2 mm at perimeters and around fixed objects. Sintered stone moves with temperature.
The five mistakes that break slabs
- Cutting on an unsupported slab. The offcut drops, the remaining piece cracks.
- Dry cutting. Heat builds, micro-fractures form, the piece fails at installation.
- Point loads during transport. Carry vertically with cups, never flat on a single trestle.
- Grouting rigid joints. Use flexible sealant at internal corners, not cement grout.
- Installing on an uneven substrate. A 1 mm void under a 12 mm counter becomes a crack point under a heavy pot.
Every MENGNA slab ships with a fabrication data sheet covering blade specification, adhesive class and recommended joint widths. If your fabricator has not worked with sintered material before, send us their details and we will share the same guidance directly.