
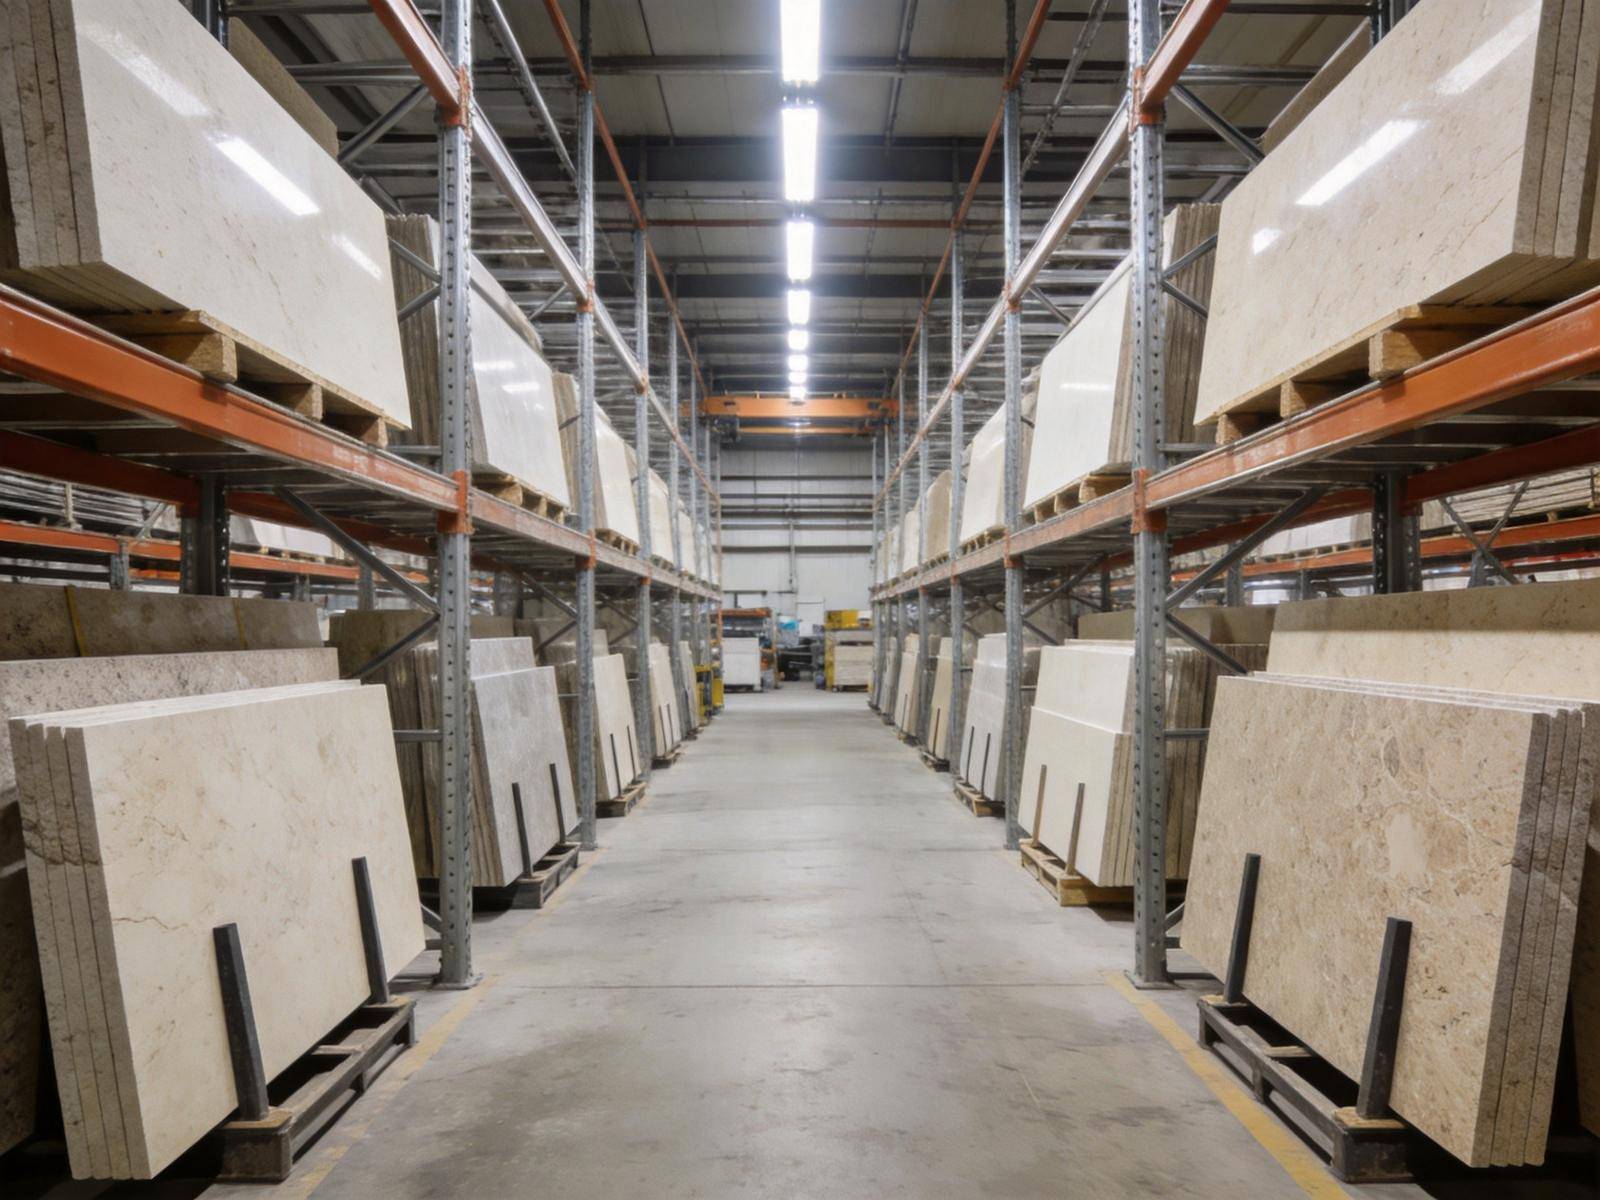
The transformation of large format porcelain and sintered stone from raw slab to finished architectural element is where precision meets artistry. Understanding the cutting and fabrication process helps architects, designers, and homeowners appreciate what goes into creating the flawless surfaces they specify—and why choosing the right fabricator matters.
The Fabrication Process Overview
Converting large format slabs into finished installations involves multiple stages, each requiring specialized equipment and expertise. The fabrication process typically includes:
- Templating and measurement
- CAD design and optimization
- Material cutting
- Edge profiling
- Surface finishing
- Quality inspection
- Packaging and transport
Essential Cutting Equipment
Professional porcelain fabrication requires substantial equipment investment and technical expertise.
Bridge Saws
The workhorse of stone fabrication, bridge saws provide precision straight cuts on large format material:
- Heavy-duty frame supporting precision guide rails
- Motorized blade head for automated cutting
- Water cooling system integrated into blade housing
- Digital controls for precise depth and angle cutting
- Cutting capacities up to 3,200mm length
CNC Machining Centers
For complex shapes and high-volume production, CNC centers offer unmatched capabilities:
- Computer-controlled multi-axis machining
- Direct CAD-to-cut workflow
- Automated tool changing for different operations
- Integrated cutting, drilling, and profiling
- Consistent quality across production runs
Waterjet Systems
For intricate shapes and materials that are difficult to cut with diamond blades:
- High-pressure water mixed with abrasive particles
- No heat generation during cutting
- Extremely precise complex shapes
- Limited to thinner materials (up to 50mm)
- Higher operating cost but unique capabilities
Rail Cutting Systems
Portable precision cutting for site work and smaller fabricators:
- Guided rail system for perfectly straight cuts
- Motorized carriage with diamond blade
- Water feed system for cooling
- Ideal for single straight cuts
- More portable than bridge saws
Diamond Blade Technology
The diamond blade is the critical consumable that determines cut quality and efficiency.
Blade Types
| Blade Type | Application | Characteristics |
|---|---|---|
| Continuous Rim | Porcelain, sensitive materials | Cleanest cuts, minimal chipping |
| Segmented Rim | General stone cutting | Fast cutting, rougher edge |
| Turbo Rim | Versatile applications | Good balance of speed and finish |
| Wave/Coarse | Very hard materials | Aggressive cutting, cooling slots |
Blade Selection Criteria
- Material Hardness: Harder materials require different diamond concentration and bond
- Slab Thickness: Thicker slabs may require blade with deeper segment height
- Cut Quality: Polished finishes require continuous rim blades
- Cutting Speed: Production work may prioritize speed over finish quality
- Blade Diameter: Must be adequate for cutting depth (minimum 230mm for 20mm slabs)
Blade Maintenance
- Inspect blade for damaged or missing segments before use
- Ensure proper blade mounting and arbor fit
- Allow blade to reach operating temperature before intensive cutting
- Never use a blade that has struck a hard object
- Replace blades when cutting efficiency noticeably decreases
Precision Cutting Techniques
Achieving clean, accurate cuts requires proper technique at every stage.
Pre-Cut Preparation
- Verify Measurements: Double-check all dimensions before cutting
- Support the Slab: Use foam blocks or roller stands to support full length
- Mark Cut Lines: Use marker or scribe on both sides for visibility
- Check for Obstacles: Ensure no clamps or supports interfere with blade path
- Position for Exit: Plan so completed cut falls away from main slab
Cutting Technique
- Begin with light scoring pass along cut line
- Increase cutting depth gradually in multiple passes
- Maintain consistent feed rate—never force the blade
- Ensure continuous water flow to blade
- For long cuts, periodically backtrack slightly to prevent overheat
- Complete cut without stopping mid-way if possible
Preventing Chipping
Chip-free cuts require attention to multiple factors:
- Blade Selection: Use continuous rim blade for porcelain
- Blade Condition: Sharp, well-maintained blade is essential
- Cutting Speed: Appropriate speed prevents chipping
- Backing Support: Foam or wood backing prevents tear-out
- Entry/Exit Points: Minimize cuts near edges or corners
Edge Profiling and Finishing
The edge treatment significantly impacts both aesthetics and safety.
Common Edge Profiles
- Square Edge: Modern, clean 90-degree edge; may be slightly eased
- Beveled: Angled cut creating visual interest and softens corner
- Bullnose: Fully rounded edge for maximum safety
- Half Bullnose: Top edge rounded, bottom edge square
- Ogee: Traditional S-curve profile for classical designs
- Mitered: Angled join creating thick appearance from thin material
- Laminated: Stacked edge creating substantial, luxurious profile
Polishing Techniques
Achieving consistent polish requires progressive refinement:
- Profile wheel with appropriate grit (typically starts at 50-80 grit)
- Progress through grit sequence: 80 → 120 → 200 → 400 → 800 → 1500 → 3000
- Each stage removes scratches from previous grit
- Final polishing with felt wheel and polishing compound
- Consistent speed and pressure essential for uniform results
CNC Profiling
Modern CNC centers automate edge profiling:
- Computer-controlled tool paths ensure consistency
- Multiple operations in single setup
- Complex profiles achievable with specialized tooling
- Reduced labor cost for high-volume production
- Quality documentation and traceability
Sink and Fixture Cutouts
Creating openings for sinks, cooktops, and fixtures requires precision technique.
Sink Cutout Methods
CNC Routing
- Most precise method with clean, consistent cuts
- Proper corner radii prevent crack propagation
- Clean entrance and exit points
- Minimal risk of damage to slab
Bridge Saw Method
- Drill corner relief holes (30-40mm diameter)
- Cut between corners following template
- Use backing support to prevent fall-through damage
- Complete cut in segments if necessary
Angle Grinder Method
- For simple rectangular cutouts
- Requires steady hand and proper blade
- Corners require careful drilling and finishing
- Not recommended for polished surfaces
Preventing Crack Propagation
All sink cutouts create stress concentration points:
- Use adequate corner radii (minimum 15mm, preferably 25mm+)
- Polish all cut edges to remove stress risers
- Ensure proper support beneath cutouts
- Consider steel rod reinforcement for long unsupported spans
Water Management and Safety
Professional fabrication prioritizes operator safety and environmental compliance.
Silica Dust Hazards
Crystalline silica dust poses serious health risks:
- Causes silicosis with prolonged exposure
- Linked to lung cancer and other respiratory diseases
- Legal exposure limits strictly regulated
- Requires comprehensive dust control measures
Water-Based Cutting
Wet cutting is essential for dust suppression:
- Continuous water flow to blade and cut line
- Water collection and filtration systems
- Slurry management and disposal
- Regular equipment cleaning to prevent buildup
Dry Cutting Precautions
If dry cutting is unavoidable:
- Industrial dust collection systems mandatory
- Respiratory protection (NIOSH-approved respirator)
- Limited duration exposure
- Enhanced ventilation requirements
Personal Protective Equipment
- Safety glasses or face shield
- Hearing protection (85+ dB environments)
- Waterproof gloves when handling wet material
- Non-slip footwear
- Dust mask or respirator for dry operations
Quality Control
Professional fabricators implement systematic quality assurance.
Inspection Points
- Incoming Material: Verify dimensions and quality before fabrication
- In-Process: Check cuts against templates and specifications
- Post-Fabrication: Final dimensional verification and surface inspection
- Pre-Delivery: Confirm all components match order and are undamaged
Common Quality Issues
- Dimension deviations exceeding tolerance
- Chipping or edge damage
- Surface scratches or marks
- Incorrect edge profile
- Incomplete polishing or finish inconsistencies
Choosing a Fabrication Partner
Selecting the right fabricator affects project quality and timeline.
Evaluation Criteria
- Equipment: Modern CNC and cutting equipment indicates capability
- Experience: Track record with similar projects
- Quality Control: Systematic inspection and documentation
- Communication: Clear templating, quoting, and production updates
- Warranty: Confidence demonstrated by backing their work
Questions to Ask
- What equipment do you use for cutting and profiling?
- Can you provide samples of completed projects?
- What is your typical lead time for fabrication?
- How do you handle damaged or defective pieces?
- Do you offer templating and installation services?
Conclusion
Large format porcelain and sintered stone fabrication is a specialized craft combining advanced equipment with skilled technicians. Understanding the process—from cutting and profiling to finishing and quality control—helps stakeholders appreciate the expertise required to transform premium slabs into flawless installations.
Whether you're specifying materials for a single bathroom renovation or a large-scale commercial project, partnering with experienced fabricators ensures your vision becomes reality. The investment in professional fabrication protects the value of premium materials and delivers results that perform beautifully for decades.